Klipper: A new hope for 8 bit 3D Printers
Most budget printers like the Ender 3 come with 8 bit processors to save costs. These processors are mostly sufficient for regular day to day users. But makers are rarely day to day users. Makers are always tinkering with their machines and sooner or later end up pushing their machines to the edge of their capability. This first issue they are likely to face is limited space on the flash memory. This is especially visible when new mods are incorporated.
A different kind of limitation shows up when you try to push the speeds of your machine to their max. The print head starts to skip steps. Here is an example from YouTuber Chris Riley:
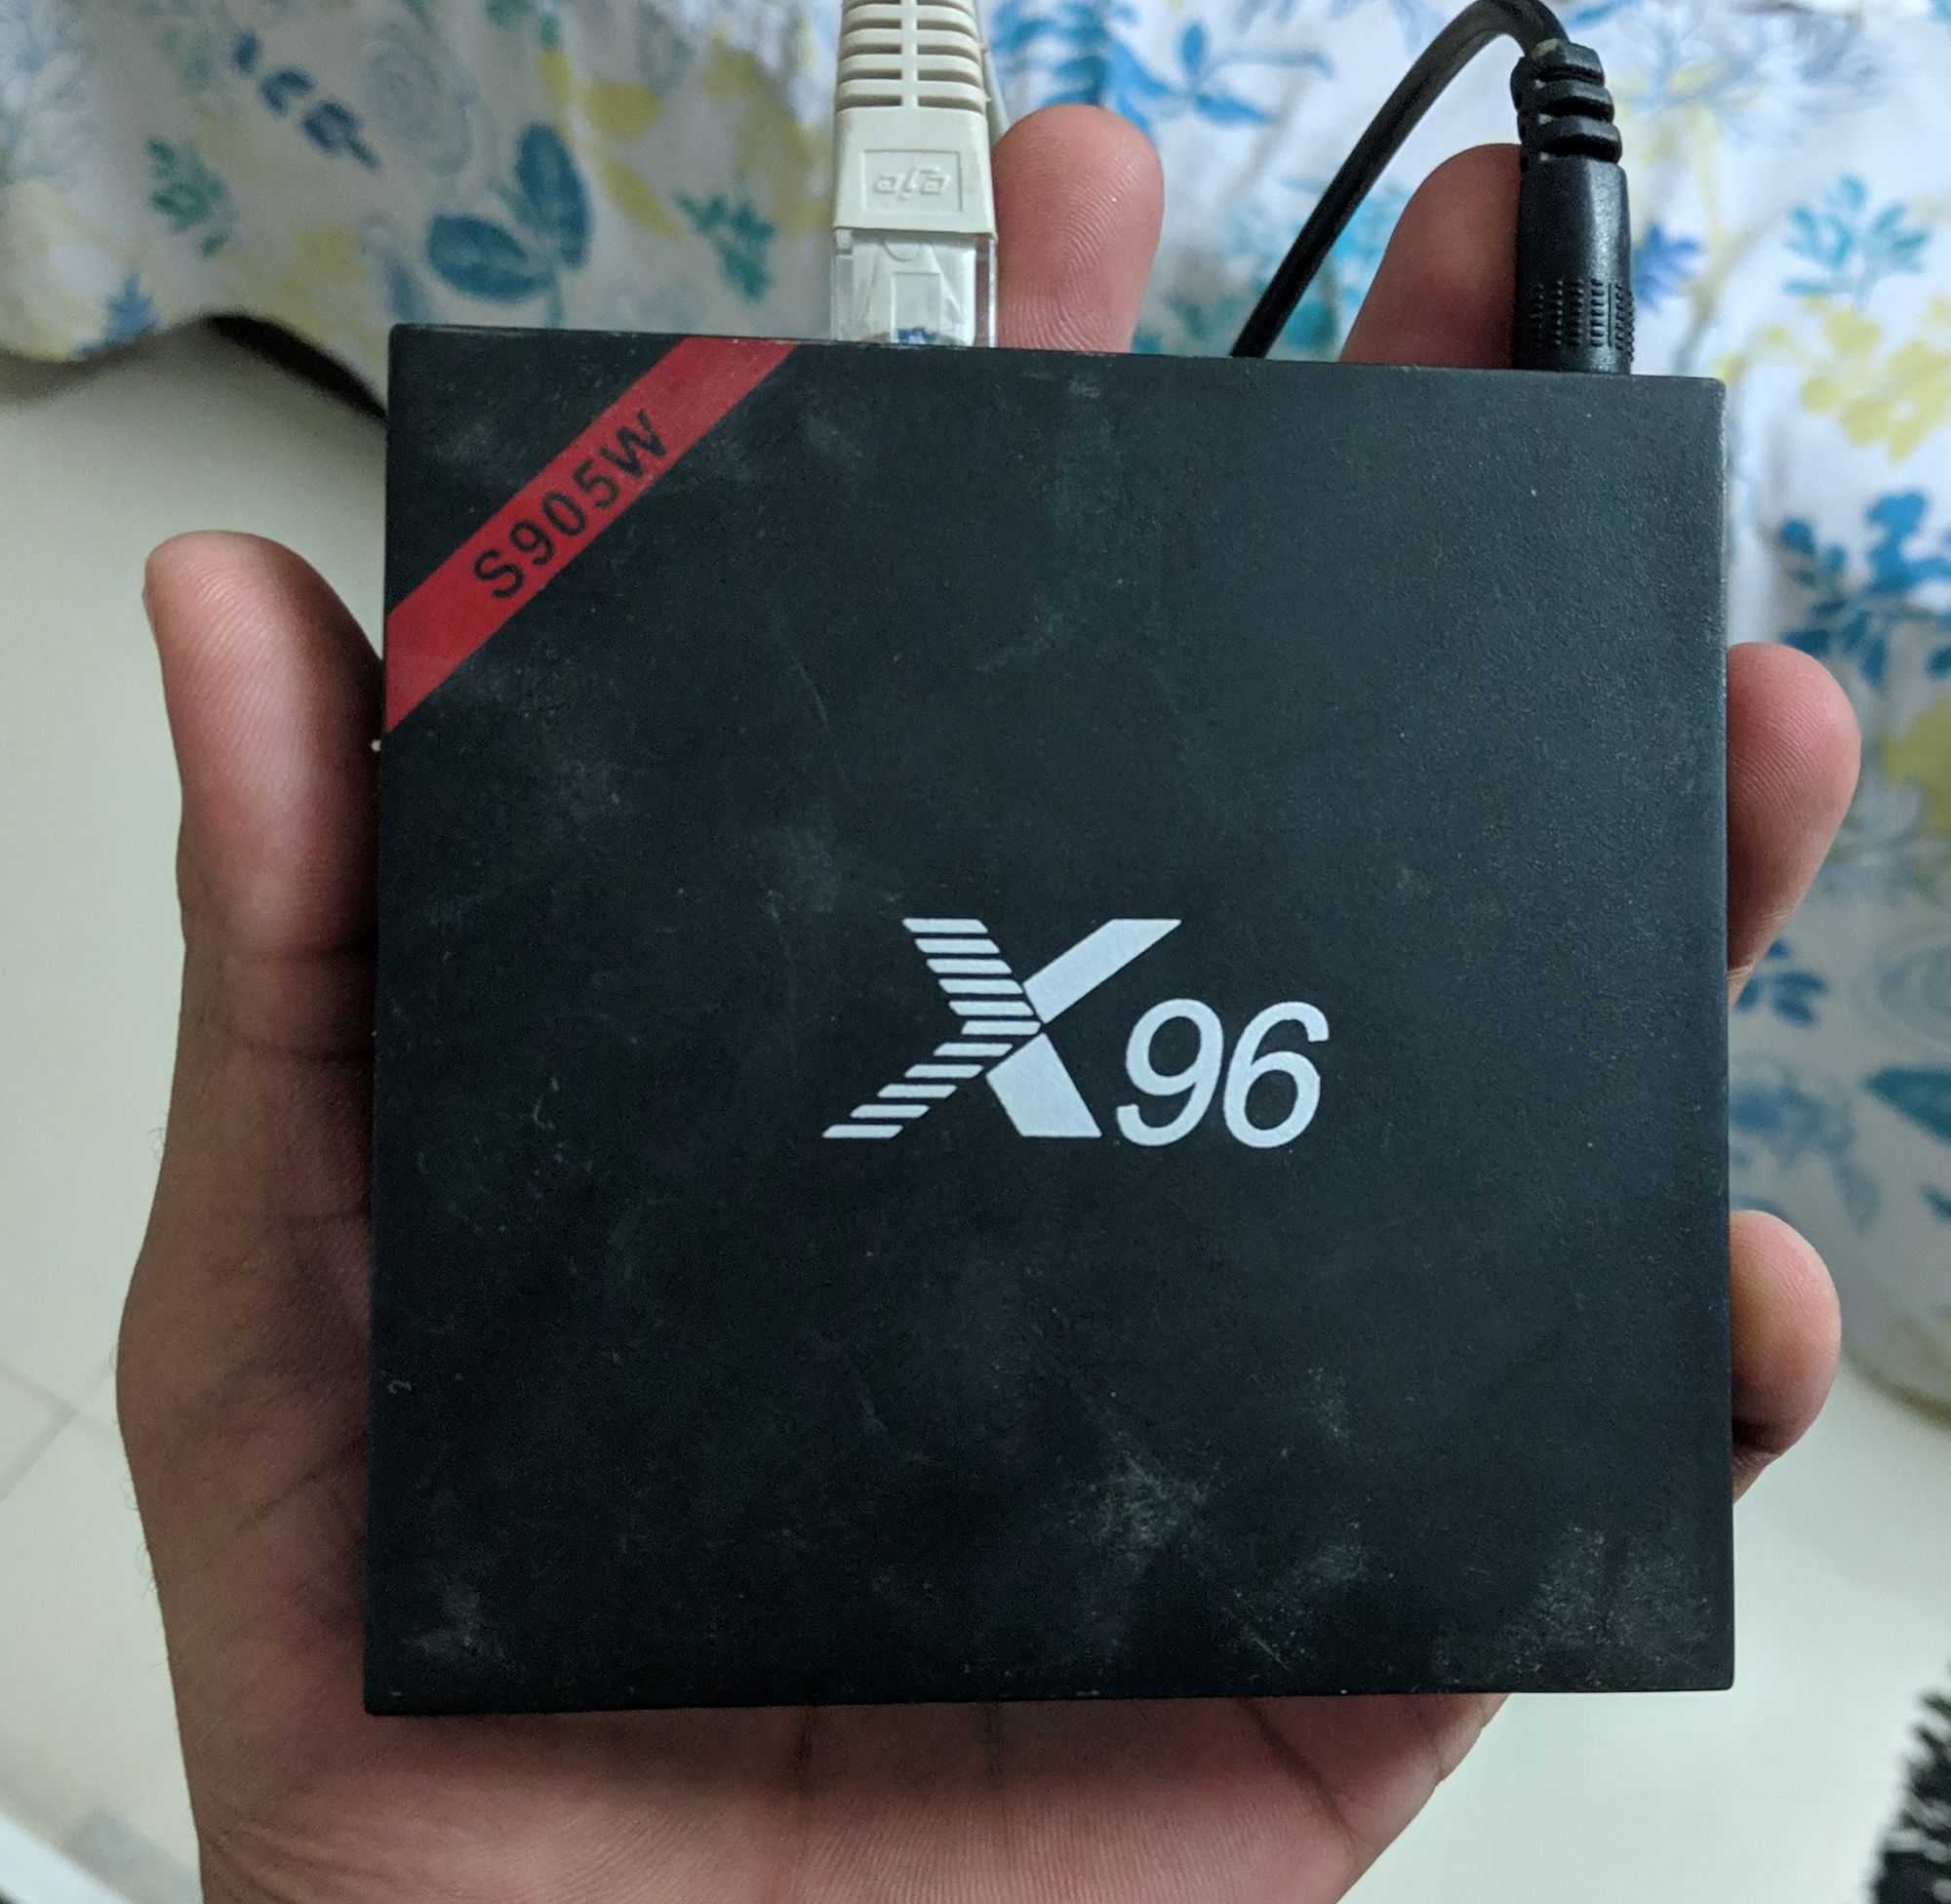
As you can see, the printer starts to stutter at higher speeds. One option as mentioned in the beginning of the video is to change the main board to a 32 bit board like the SKR. However, there is another option. Especially if you are already using something like the Raspberry Pi to run OctoPrint. Or in my case, this TV Box (You can do a lot of interesting projects using this little low cost SBC. But that's for another post):
And that solution is called Klipper. Klipper basically avoids using the inbuilt board for any computation and relies on an external computer to do that. Which means there is a klipper host installed on the external computer like a Raspberry Pi and a very small firmware flashed onto your 3D Printer's firmware. The host computer calculates action to be taken at that very instance and sends that data to the firmware of your 3D Printer. The printer just follows that instantaneous code. Nothing more. Interesting option as I did not want to buy yet another upgrade within the first year of my printer.
I was already using this little TV Box to OctoPrint and control my 3D printer remotely along with using it as a personal media server with content from my external hard disk. So I decided to try and use this 64 bit box to use as the klipper host. Before I explain the rather simple process to install this on your printer and Raspberry/Other SBC setup, let me just write two important points that I struggled with.
It appears you have to use Baud Rate of 250000 only with Ender 3 on stock board. I tried using 115200 initially on Klipper as I had stability issue with higher baud rate when using Marlin. This was disastrous and I could never really connect to the printer. I highly recommend going with a Baud Rate of 250000My bad, I forgot to change baud rate in config. Make sure the baud rate you set here is the same baud rate you set in the config file.- I have included my printer config here. My setup includes default Ender 3 + Servo motor enabled Auto Bed Levelling from Under $10 ABL
If you are struggling with one of those 2 points like I was and have come here troubleshooting for them, I hope that helped you.
To those of you guys who wish to install and try Klipper out, follow the instructions below.
Pre-Requisites:
- Have a Raspberry Pi or equivalent SBC running OctoPrint. Though the Klipper page states it's possible to use other methods and avoid OctoPrint, the alternatives aren't really that easy or worth the effort.
- Ender 3. This set of instructions are not very specific to Ender 3 but the settings and comments in general are for the Ender 3.
- Shell access to your Raspberry box.
Installation:
- SSH into your Pi or Box and login as the same user that runs OctoPrint. In my case, it was octoprint. If you are using the standard image for Pi it's probably octopi.
- Change directory to home with:
cd ~
- Clone the official repository from Klipper.
git clone https://github.com/KevinOConnor/klipper
- Install the version that suits you using the various scripts available. Since I was running a debian server, I chose this:
./klipper/scripts/install-ubuntu-18.04.sh
If you are using Raspberry Pi with official OctoPi image, run this:
./klipper/scripts/install-octopi.sh
-
If you are running a different OS, use one of the other scripts present here.
-
Install Klipper
cd ~/klipper/
make menuconfig
- The settings you wanna use for Ender 3:
+   Micro-controller Architecture -> (Atmega AVR)
+    Processor model -> (atmega1284p)
+    Processor speed -> (16Mhz)
+   Mark "Enable extra low-level configuration options" and Choose
+      Baud Rate: 250000
- Compile the software with:
make
- Next, determine the port your printer is connected to:
ls /dev/serial/by-id/*
- It should give you something like this:
/dev/serial/by-id/usb-1a86_USB2.0-Serial-if00-port0
- Choose the appropriate one if it shows multiple items and you are now ready to flash the firmware to your machine. Enter these lines to flash the firmware. Make sure to replace content after "FLASH_DEVICE=" with the output of previous command.
 sudo service klipper stop
 make flash FLASH_DEVICE=/dev/serial/by-id/usb-1a86_USB2.0-Serial-if00-port0
 sudo service klipper start
- You should get a message stating that avrdude finished the flashing. Once done, you are now ready to modify the OctoPrint settings. This is mostly done using the web interface.
OctoPrint Configuration:
- Open up your browser and navigate to it's URL.
- You may just install the plugin named "OctoKlipper" in OctoPrint and save a fair bit of hassle. Or install the manual process as stated below.
- Navigate to the Settings tab (the wrench icon at the top of the page) -> Under “Serial Connection” in “Additional serial ports” add “/tmp/printer” -> Click “Save”.
- Enter the Settings tab again and under “Serial Connection” change the “Serial Port” setting to “/tmp/printer”.
- In the Settings tab, navigate to the “Behavior” sub-tab and select the “Cancel any ongoing prints but stay connected to the printer” option. Click “Save”.
- From the main page, under the “Connection” section (at the top left of the page) make sure the “Serial Port” is set to “/tmp/printer” and click “Connect”. (If “/tmp/printer” is not an available selection then try reloading the page.)
- Once connected, navigate to the “Terminal” tab and type “status” (without the quotes) into the command entry box and click “Send”. The terminal window will likely report there is an error opening the config file - that means OctoPrint is successfully communicating with Klipper.
- If you are going with the plugin OctoKlipper, some of the above settings will be automatically set by the plugin. You will have to set the rest.
Ender 3 Printer configuration.
- This is where using Klipper becomes a headache. Yeah. You probably thought you were through the hardest part.
- The default ender 3 configuration is available at https://github.com/KevinOConnor/klipper/tree/master/config/printer-creality-ender3-2018.cfg
- Just copy that over to ~/printer.cfg
 cp ~/klipper/config/printer-creality-ender3-2018.cfg ~/printer.cfg
 nano ~/printer.cfg
- This works out of the box for a default Ender 3. You just need to fine tune this config if you have modified something.
But if you have any kind of modification whatsoever, that's where this becomes a headache. You see, the biggest difference between Marlin and Klipper is that Marlin is developed by a ton of people and is designed to be beginner friendly. Klipper on the other hand is developed by a single guy and is barely even usable without a ton of self configurations for even the smallest modifications.
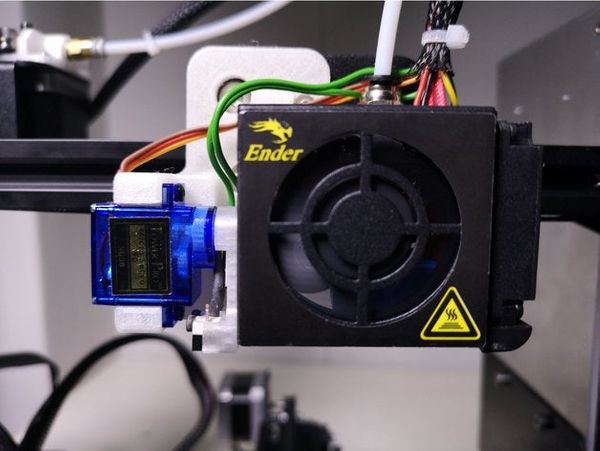
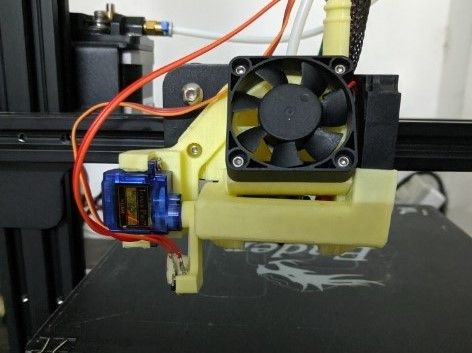
For instance, I installed this servo enabled Auto Bed Levelling mod. Enabling bed mesh levelling and figuring out how to set the servo to required angle or even figuring out the name of pin 29 was a major headache.
Here is my final word on this:
Pros:
- Higher processing power
- Higher memory
- Both the above imply practically unlimited functions and powerfull functions such as Linear Advance.
- Very beneficial for large prints where higher speeds can be achieved without any stutter.
- Comparitively more silent running of stepper motors.
Cons:
- Since the machine is connected over USB and requires constant connection throughout, higher chances of connection failure related print failures. EDIT: This is extremely important! My experience completely flipped once I managed to stop my adapter from getting loose from the power slot and set the machine on a stable place where any kind of disturbances to the cable were rare, I am loving klipper.
- The simplest things require you to research for half a day and then experiment with them for the remaining half. It took me a day to just get homing to happen correctly. Bed mesh levelling and using Pin 29 are blog posts on their own. On the other hand, configuring this same setup of servo enabled levelling was 5 minutes of work on Marlin. This includes the 3 and a half minutes taken to flash the firmware. EDIT: Well, that's the case in the very beginning. Once you use it for a while, it's very rare for you to have to fix anything. I had no option but to switch to klipper as I needed arc support for my CNC and Laser engraver mods to this printer. I haven't had any major issues in the recent past.
- I have noticed that the bed levelling servo failes to activate randomly causing my nozzle to crash. EDIT: This was due to me horrible soldering skills. Sorry! Once I properly soldered the servo actuator to pin 27 correctly, I have never had an issue with klipper.
- I have also noticed that my servo randomly moves during the bed levelling process by a degree. This makes proper levelling impossible. And pretty much fails for sure if using multiple samples. Still cannot figure out why this happens.
Final Conclusion: This is a very interesting and capable way to push a budget Ender 3 to it's physical limits and enable advanced memory consuming functions without upgrading to a 32 bit board. However, it still isn't usable or reliable for day to day usage. (EDIT: No more valid. I am using klipper on a regular basis. Haven't had an issue in the past month. Requires a little getting used to for sure, but I was a little too harsh on klipper in my initial review.) If you are not very comfortable with code, you better stay away from this. On the other hand, if you are like me and have an itch, do try it. It's worth all the effort. You learn a lot. Klipper is like the Linux of 3D printing while Marlin is Windows/Mac. Klipper gives you unbelievable power over your machine. But as always, power comes with responsibility.