FreeABL - The cheapest and free ABL for Ender 3
I accidentally stumbled upon this thingverse model claiming to provide Bi-Linear bed levelling on my budget Ender 3. It seemed quite promising and I was having a lot of issues in the recent past with the levelling. There was even a time when my hot end scraped through the bed ruining it. Perfect timing I thought and decided to print it.
I can assure you I was quite impressed with the results. The instructions on the Thingverse are quite self explanatory for the most part. But the final usage can be confusing. This post attempts to explain the DO's and DONT's a bit more clearly so you can avoid breaking your head and wasting your time.
Basic Explanation:
The motors on your 3D printer can turn very accurately to any position you want them to relative to the position they were in when started. However, when you turn off your machine or disable the motor, you can manually move the gantry and turn the motors. These movements do not get captured. Especially if the machine is off. So, your software no longer knows where your gantry/bed are. To ascertain the current position, the motors spin to move the indiavidual members on each axis like the hotend, bed and the gantry towards one side indefinetely to reach an end. And to know where the end of the axis is, a switch is used. This is called an end stop switch. Just a fancy name for a regular high quality switch. The switch sends a stop message to the software the moment it clicks.
The switch is off -> Keep moving the member
The switch is on -> Stop moving the member
Now, if I attach this switch on my hot end with an offset to the nozzle, I can lower the switch on various points on my bed. Everytime the switch clicks, it sends a signal and I know that it has reached the bed. Any uneven-ness on the bed gets captured when you repeat this on various grid points on the bed.
With this data of different points on the bed, the z axis moves to adjust at various points on the bed. This is the basic working of Auto Bed Level (ABL).
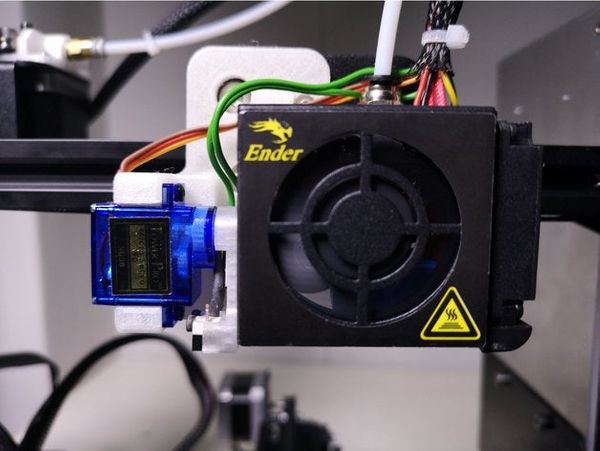
There is one issue though. Since the switch is below the nozzle, every time the nozzle heats up and goes down to print, the switch is going to crash into the bed. So something like a BL Touch uses a motor to lift the tip up. In this case, our dude solves this issue is a very simple way. My manually removing it. To make it easier, he created a dove tail joint that just slides the switch on and off the hotend.
Simply put, when the machine homes the z-axis or does a bed levelling routine, we need the switch on. When it starts to print, we need it to be removed. To give us time, we have some start GCode on every sliced file to home the axes and then move the hotend towards you before heating the hotend and bed. This is when you remove it.
This is frankly the best picture of what Thrifty Engineer is all about. Finding cheap and effective solutions to complex problems!
Pre-Requisites:
- You need to have a bootloader installed on your Ender 3.
- Know how to edit and flash marlin firmware.
- Dupont connectors or some cables.
Installation:
- On the thingverse page, download the files and print the mount as well as the switch plate.
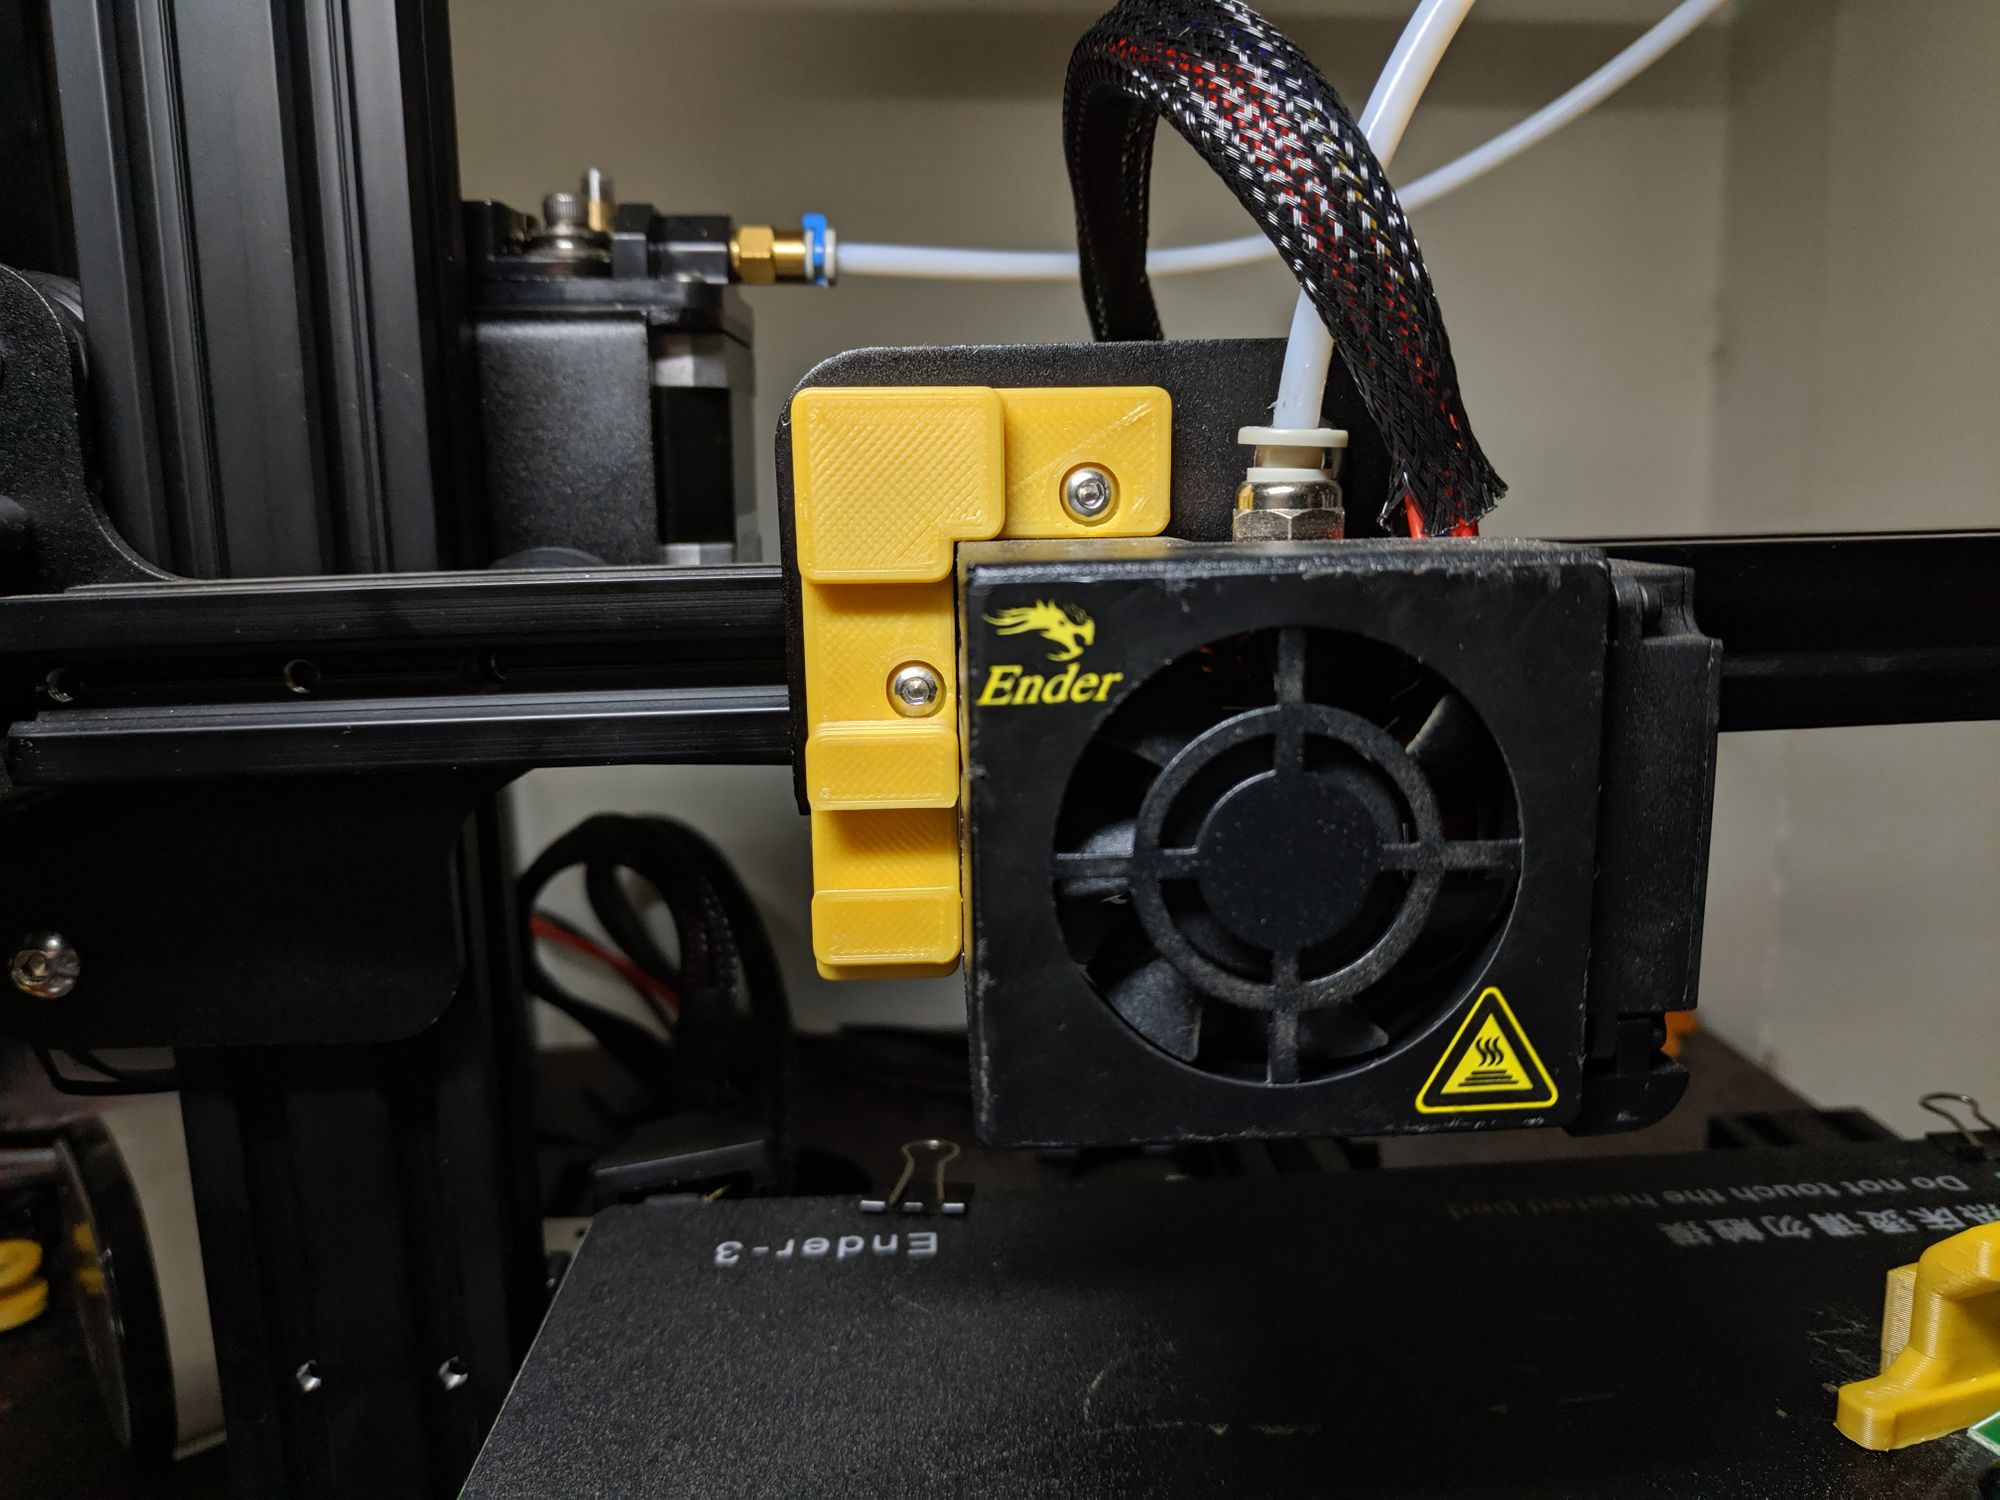
- Mount the mount on your hotend as shown in the picture below.
- Open the marlin.ino after replacing configuration files from the latest firmware downloaded from MarlinFW
- To enable or disable features, Just look for the 2 forward slashes in fron of "#define". If they exist, that function is disabled. If they don't exist, it is enabled. Follow the code snippet below and enable or disable features by just searching for them one by one. The italics are my comments. They are just for your reference.
You need to have these the lines to reduce space on the default sanguino board. If you have a board like SKR 1.4 or MKS Gen L, you may skip these as they have more space.
#define SLIM_LCD_MENUS
//#define SHOW_BOOTSCREEN
//#define SPEAKER
These lines enable auto bed leveling:
#define FIX_MOUNTED_PROBE
#define AUTO_BED_LEVELING_BILINEAR
#define Z_SAFE_HOMING
#define Z_MIN_PROBE_REPEATABILITY_TEST
#define EXTRAPOLATE_BEYOND_GRID
These lines tell the firmware where the probe is relative to the front left corner of the heat block, so that when probing happens the printer will treat the probe as the center. The values I have here are not perfect, but they work close enough for me. You will most probably only need to adjust the "Make the following changes: ". This can also be adjusted later and is a topic by itself.
#define X_PROBE_OFFSET_FROM_EXTRUDER -37 // X offset: -left +right [of the nozzle]
#define Y_PROBE_OFFSET_FROM_EXTRUDER -5 // Y offset: -front +behind [the nozzle]
#define Z_PROBE_OFFSET_FROM_EXTRUDER -5 // Z offset: -below +above [the nozzle]
NOTE: The next definition occurs 3 times in the file. Change the one that occurs right after the AUTO_BED_LEVELING_BILINEAR "#if" statement. This line will change the default mesh grid to 4x4 instead of 3x3. You can even make it 5 if you want. Increasing this will increase the accuracy of the bed levelling but take more time to complete the bed levelling process. You will need to change this to a higher number only if you have an wxtremely warped bed. Otherwise it won't make too much of a difference!
#define GRID_MAX_POINTS_X 4
You may also change these optionally. They just give you a few more options in your menu screen.
For fun! Change the name of your 3D printer on the home menu:
#define CUSTOM_MACHINE_NAME "Ravi's 3D"
In file Configuration_adv.h
This line is also necessary to reduce program size. Again, you do this if you have the original board. If you have an after market board like SKR 1.4 or MKS Gen L.
//#define ARC_SUPPORT // Disable this feature to save ~3226 bytes
Continuing with the Installation:
5. Compile and upload the sketch to your Ender 3.
6. Once done, remove your Z endstop switch and separate the plastic as shown below:
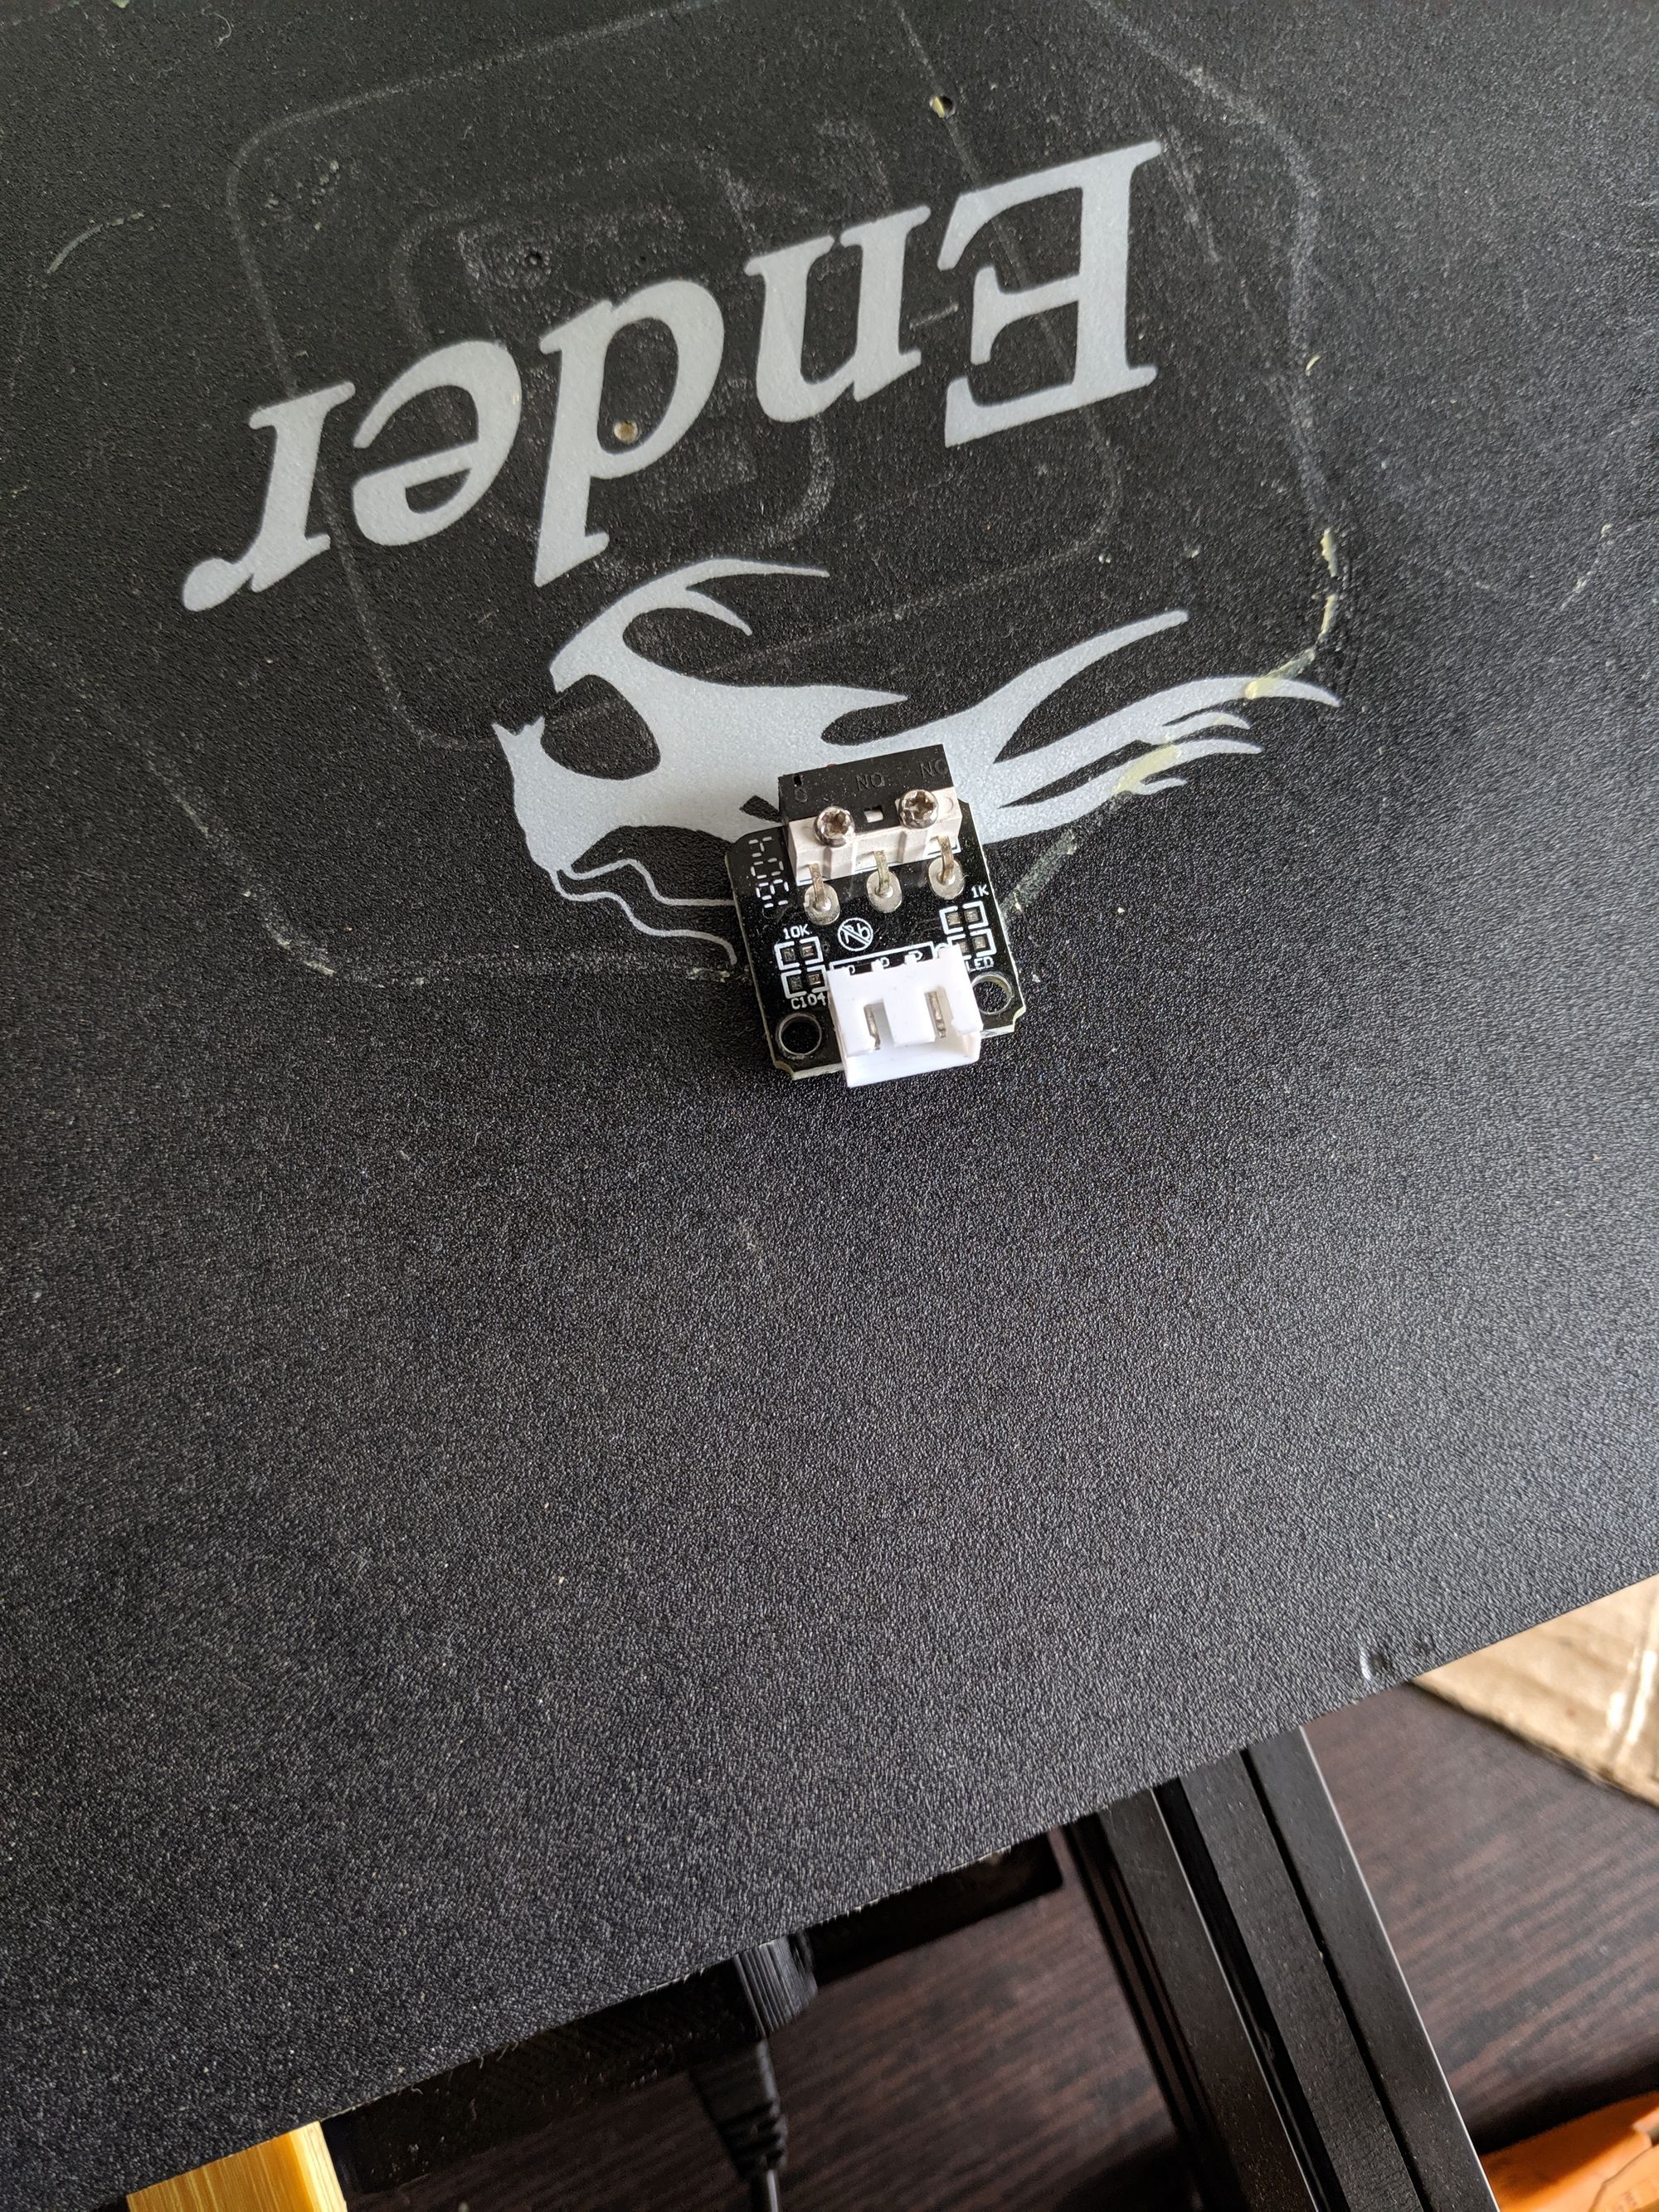
- You no longer need this and you may keep it away safely:

- Using the existing allen screws, attach the switch to the switch mount as shown below:

- Slide your switch in using the dovetail and connect the jumper wires. You need to follow the colors and match them in such a way that they connect the same way they used to connect when done directly. Take a look at this:

- In this case, I followed the white dupont connector and connected it to S. While the Grey one was connected to V.
First Run Instructions:
- Connect to your printer using serial monitor from arduino or pronterface.
- Send command: G28 to home your axis. Notice that the Z axis homing now happens at the center of the bed. Note: I highly recommend you to move your gantry up manually a bit so you get some time to test and make sure your connections are correct and working.
- To test the connections, you may just press the switch button to the click. If the gantry immediately starts to move up and back down slowly, your setup is working and correct. You only need to do this the first time.
- Then repeat the homing by command G28. Let it home this time.
- Send Command: G29 L30 R190 F30 B190 to perform a bed levelling routine. This command creates a grid bound by the square 30 mm from left, 190 mm towards right, 30 from front and 190 towards back, This is done to avoid your clips and also because the plate we get is smaller than the max positions our bed can move.
- Send command: M500 to save your G29 bed level to EEPROM (so it will be remembered when you power down).
- Additionally you may run command M48 to test your switch for reliability. As long as the standard deviation is under .05, you are good. Otherwise your levelling might not be accurate and you may try another switch.
Operational Instructions:
- For using the bed levelling functionality, you need to adjust the start Gcode on your slicer profile to this:
; Ender 3 Custom Start G-code
M0 Insert Z Switch ;Pause with message for user
G28 ; Home all axes
M420 S1 ;Enable Mesh Bed Levelling
G1 Y-{machine_depth} Z40 F1500 ;Move Heat Bed back and lift nozzle

; Heat up bed
M140 S{material_bed_temperature} ;Start heating bed
M0 Remove Z Switch ;Pause with message for user

; Now do rest of heat up (unsafe to start before, as user might burn)
M104 S{material_print_temperature} ;Start heating extruder
M109 S{material_print_temperature} ;Wait heating extruder
M190 S{material_bed_temperature} ;Wait heating bed

G1 Z15 F100 ; Slowly lower the nozzle to give you a headsup that printing is starting
; End of custom start G-code
- If you are using Cura, you will find the option to do so here => Preferences -> Configure Cura -> Printers -> Machine Settings -> Start Gcode. Replace all the content here.
- When you a slice a stl with this start gcode and begin a print, here is what happens:
a. Your print pauses at the beginning and display a message to slide your switch in. This is when you do so as it will home after this.
b. Once it's done homing, the bed will move back and the hotend will rise to 40mm. This is when you remove the switch from the slide.
c. At this point, your bed and hotend will begin heating.
d. After heating is done, the hotend will slowly go down. If you haven't yet removed your switch, you must do so now. Or it will crash into your bed and break.
e. Post this, it's regular printing process.
Well, there we go! That's the guide to getting complete semi auto bed levelling on your Ender 3. It may be doable on other printers as well. If you manage to do so, Please do comment and let me know.
Also, if you are willing to spend about INR 75 or $1, you will can also use an IR Sensor to achieve complete auto bed levelling. You will not longer have to worry about removing and sliding the switch in. You may find the guide to that here.